Pour your thoughts in Water SKEGNESS PIER

In every outthrust headland, in every curving beach, in every grain of sand there is the story of the earth ~ RACHEL CARSON.I love the sound of the Ocean waves. Skegness beach water is not as clear as I saw in Corniche beach Abu Dhabi. However, the sound of the Ocean waves is soothing for your soul...A beach is not only a sweep of sand, but shells of sea creatures, the sea glass, the seaweed, the incongruous objects washed up by the Ocean.
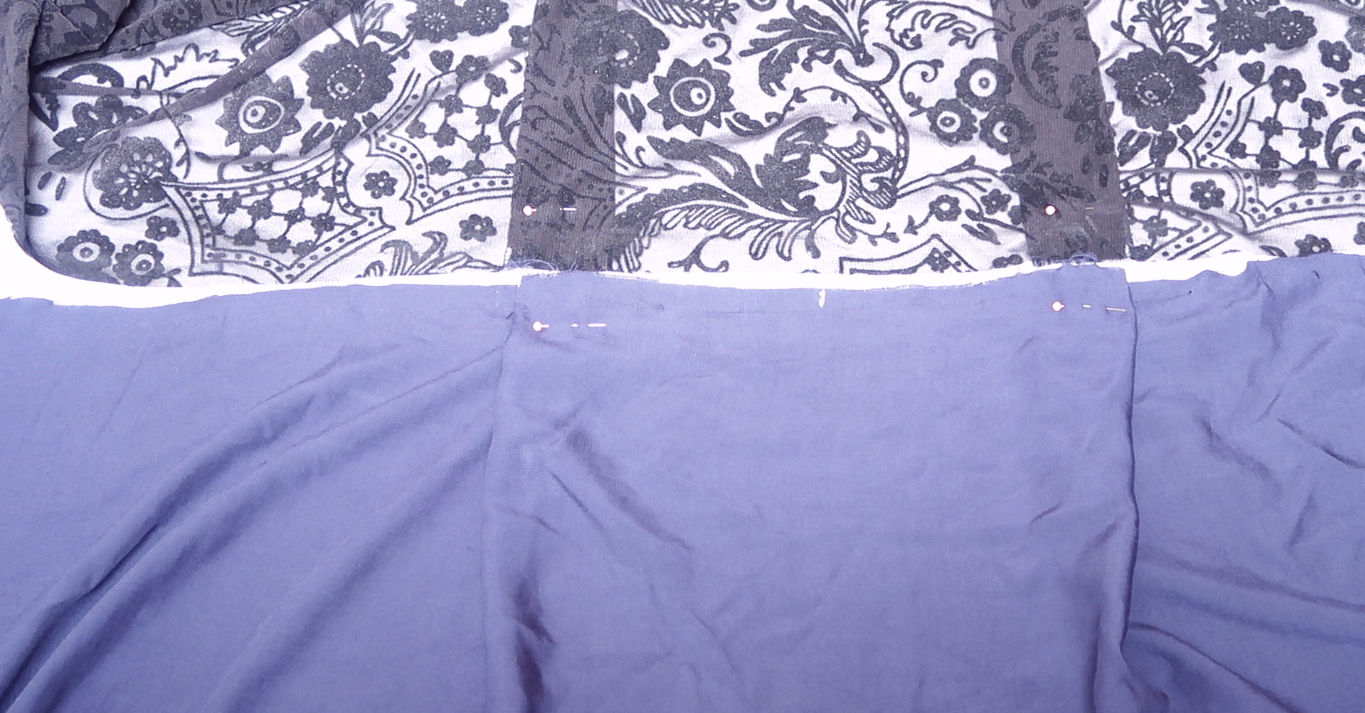
SHARE:

Cut with me Two in One Dress, Two Looks in one Dress

Asalam u alaiqum (peace be upon you) Beautiful people
How are you doing? I hope you are doing wellIn todays post I'm going to share the cutting process of two looks in one dress. I am so excited to share this with you. I have been meaning to make this kind of a dress for quite some time. I shared the detail process of how I start in a Video too.
The fabrics I am using for one side of the dress in black Linen and burn out patterned Viscose stretch jersey. The other side of the dress I use the same Linen material but in different colour. The colour is navy greyish.
VISCOSE STRETCH JERSEYBLACK LINEN FABRICNAVY/GREYISH LINEN FABRICOver here, I fold the fabric in half lengthwise, with the good sides facing inwards. I have four pieces of the bodice, two are in black linen and two in navy. First, I lay down all the pieces together, making sure they are place with selvedge edges aligned perfectly. Then I pin them together so the fabric do not move around.Once all the pieces are iron, cut and put together easy to mark. I am using my basic bodice pattern. Because I like to work straight on the fabric I don't always draft and make pattern for cutting. I only like to take basic measurement and make a bodice pattern that can be used for any dress style. You will see me using this piece of paper in almost every Video. Honestly, it saves a lot of time. I'm not saying that I am a professional but this is how I started making my own clothes.
You can see that the navy fabric is less then my actual bodice length. This happened because this fabric was quite faulty. I could have shortened the length of bodice but I wanted the seam to be set on below my waist and not on my waist. So I decided to add 1-inch extra fabric on shoulders. It doesn't give clean look to it however it turns out to be all right.Once the pieces cut out, I join mark with the help of a ruler. I have this measure ruler but if you don't have simple ruler does the same job. Just make sure to give a curve shape towards the bust area for better fitting.I am marking the front and back piece of the bodice by writing F(front) and B(back). I also cut more depth in the back neckline.You can see I need to add extra fabric on shoulders. I will explain more in my stitching post.MARKING AND CUTTING (Skirt/bottom pieces)
Moving on to the bottom pieces of the dress. I am repeating the process once again. Ironing and straightening the fabric out and cutting off the faulty fabric. I had almost three-metre fabric in width. The more flare you would like on a dress the more width is going to be. I am making pleats on skirt so, it is okay to add more width.Firstly, I mark the wrong side of the fabric on both pieces. Then I put them together in lengthwise and pin it along as I go. This will help to cut the equal length and width of the skirt. Placing it on a flat surface and cut out my desire length plus width. Then I marked the mid point of the skirt also mark where I want my pleats to start. Here I am showing how I marked the pleats. Over here on each side, it is 6-inches away from the midpoint.To make the pleat I am folding two inches fabric and pin it to keep in place. You can have the pleat facing towards front or backside of the dress just make sure that all pleats facing same direction. Because this dress is 2 in 1, which means that can wearing from both sides. Therefore, I need to make pleats on both skirts then join them together before stitching. I follow the same process on right side of the skirts. I find it easy to make pleat on each side of the skirt as I go.I wanted my pleats facing away from front side of the dress so you can see here I am placing it down to the opposite side. Now these pleats are guideline to follow.Then I mark 3-inches away from the guideline pleat on each side of the skirt but this time I am also folding 3-inches fabric to make a pleat then pin it to keep in place.Before finalising, I go ahead and check by placing the skirt around my waist. Once I am happy with the pleats, I take the midpoint of both skirts and join them together with good sides facing outwards. Then carefully one by one I hold the pleats and pin them together. Before stitching, I iron them to give neat look and that is it for this post. Thank you so much for reading. I am trying my best to upload stitching post soon. If you want to see in a Video CLICK to watch (: Always~Be Patient Be Positive~ A♡O
SHARE:

Long-overdue.

Asalam u alaiqum (peace be upon you) Beautiful people ♡
How are you doing! I hope you are doing well. I know it is been so long since I post here. I was giving time to youtube. In which I can record a video, edit and share. Therefore, if I ever disappear from here you can always watch my videos. If you are interested to make your own clothes then I am sure you will find my stitching videos very helpful.
In the past weeks I made a designer Kameez/kurtiThis Linen fabric was one piece of fabric with printed design on front/back of the bodice and sleeves. Shalwar kameez is a traditional outfit. It is a generic term used to describe different styles of dress. Because it is the national dress of Pakistan, and commonly worn throughout the Indian subcontinent I made Kameez/kurti out of this fabric. I shared in video how I cut all the pieces in detail. Once the pieces are iron and cut it is easy to stitch.Links to watch a video
SHARE:

Hope Is Life

Imagine yourself sitting in the dark room...
SHARE:
Blogger Template by pipdig