

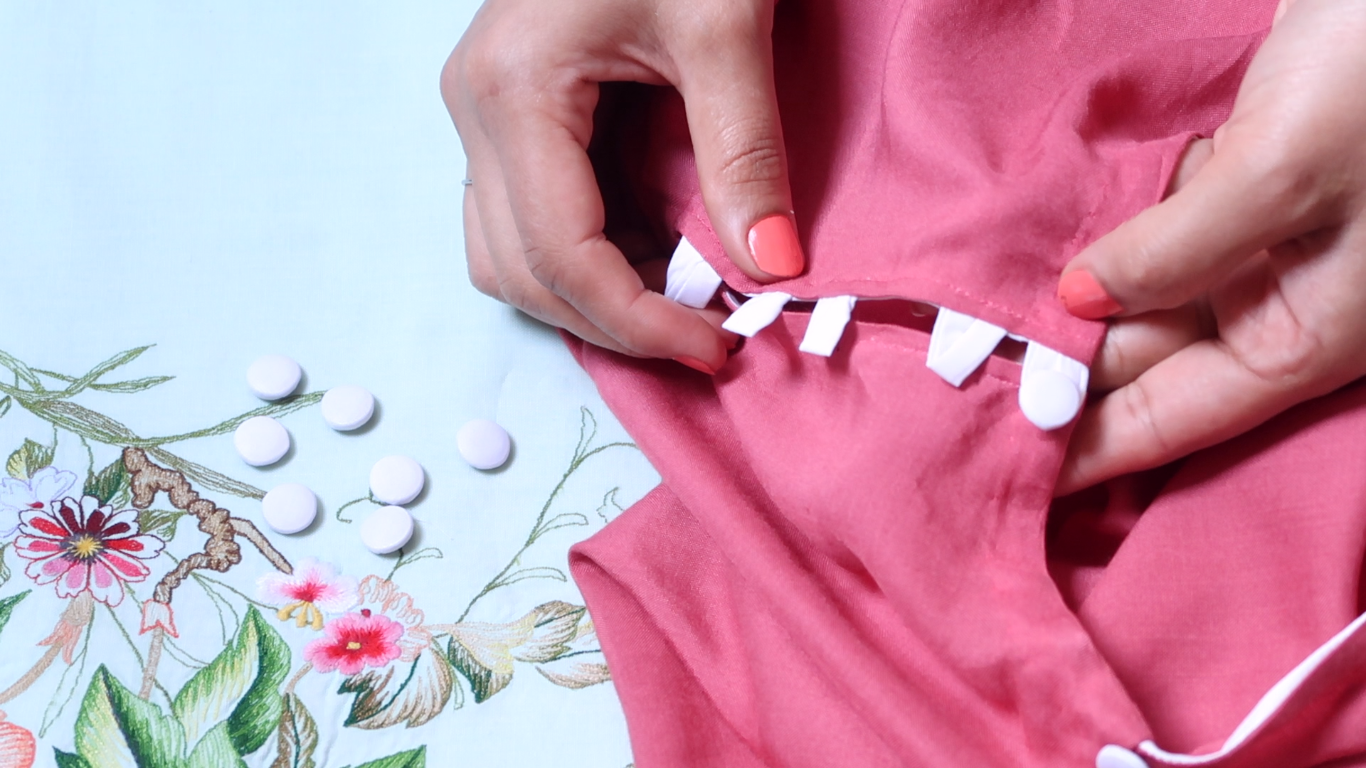
To make button loops on the neckline with simple piping. You will need cotton fabric, thick thread and a large hand-sewing needle to make simple piping. Place a strip of fabric right sides together, lining up the edges. Press open seam allowance. Right sides together, sew strip with 1/4 seam allowance. Trim seam allowance to 1/8. To turn the tube right side out, you can use a loop turner, safety pin, or a thick thread. I show you the thick thread and needle method in a video down below, but use whichever you like best. By doubling your thread and using a sewing needle. Stitch a few times through one side of the fabric at the end of the tube. This will anchor the thread. Insert the dull end of the needle through the tube. Push the needle through the entire tube until it is all scrunched up. Take care not to poke yourself. Gently coax the scrunched up fabric over the threaded anchor at the end of the tube. Once the initial bit of fabric is past the anchor, the rest of the tube should turn right side out easily. Once the entire tube is right side out, trim off the anchored thread. Decide where you would like the buttons to be on the right side of the blouse, sew tube to create a nice loop with the seam showing on the wrong side (just like shown in the video) Turn the sewn loop so the seam is facing down and press with iron. Look at those cute button loops! Resume sewing dress/blouse according to pattern direction. At the very end, you can sew your buttons on to correspond with the loops. Read my Previous Post here - How to make fabric button with a button machine. I hope you will find this helpful ♡
No comments
Post a Comment
If you have any doubts, please let me know.